
Provided you are sensible about following safety procedures, it’s relatively simple to replace a ceiling downlight. If your existing lights are mains (240v) halogen, you may wish to switch to the low voltage option, which come complete with transformers. They have a brighter beam and the bulbs last longer, however the unit gets quite hot. You will also need a special transformer if you want them to be dimmable. Another option would be to change to LED downlights, which run off mains voltage.
Safety First
Before you start work, make sure you have a voltage detector and check it against a live cable, to ensure it’s working correctly. Turn off the electricity and using your detector, check it against the cables that you’ll be working with. Now check your detector once more against a live wire, to make absolutely certain it’s not faulty. You can pick up detectors for as little as £10 and they are an essential tool for the DIY electrician. It’s also recommended to choose fire-rated downlights, as they have in-built fire protection that completely seals the downlight, in the event of a fire below to help stop it spreading.
Remove the Old Fitting
Downlights are usually kept in place by a spring-loaded clip, so gently pull the entire unit down from the ceiling. If the fitting is low voltage, the wires from the light will go into a transformer, which then leads to a junction box. Open the junction box (and transformer if applicable) and disconnect the old light’s wiring. One tip to make replacing these lights quicker and ultimately safer, is to replace any old-style connectors with Wago lever cage clamps. No screwdriver is required, as the cables simply insert into the device and the lever is pushed down. This ensures that the wires won’t be crushed by screwing too tightly, nor will they come loose.
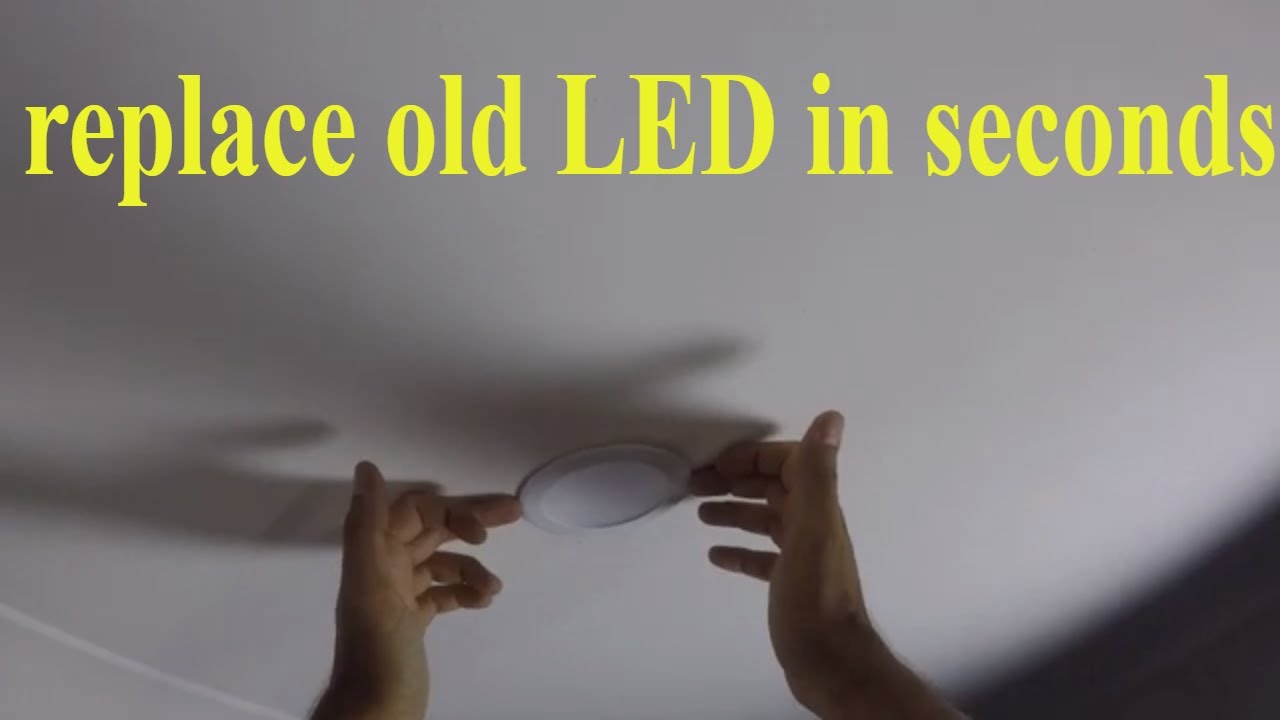
Install New Downlight
If you have chosen a low-voltage fitting, you will have to connect the wires inside the supplied transformer first; don’t over-tighten and give a gentle tug, to be certain the wires are secure. Next connect the cables from the transformer to the clamps in the electrical junction box. Turn on the electricity and use the voltage detector to check that power is reaching the light. Gently pinch the fitting clips and insert into the ceiling hole, until you hear them spring open. Flick the switch and let there be light.
Although electrical work is best left to qualified engineers, it is possible to carry out simple DIY tasks, provided every safety protocol is rigidly followed.